We recently asked several Glöbies to fill out a survey to help us understand what you think about Glö and how we can improve. One comment I saw was a request for custom HTML on Glösite pages. The person didn’t leave their name, so I thought I’d just broadcast to everyone to let you know that this is possible! Using the HTML function, you can add photos, widgets, text, etc anywhere within the Glösite page. If the idea of HTML totally scares you, you can also continue to paste in widgets in the “widget box” – these will simply appear at the bottom of the page.
Let’s go through a quick step-by-step using a PacMan widget that I found on Widgetbox (My total go-to source for fun widgets!)
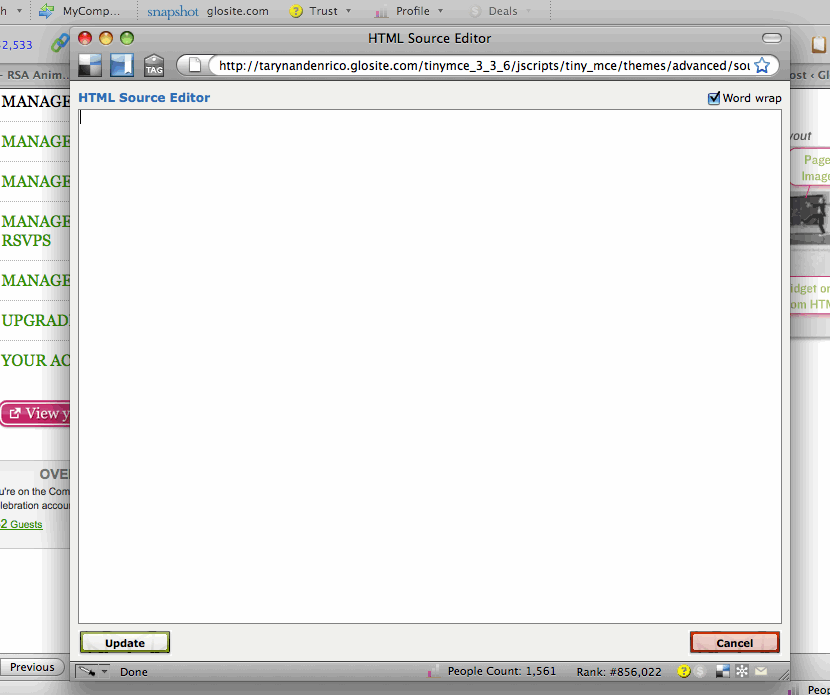
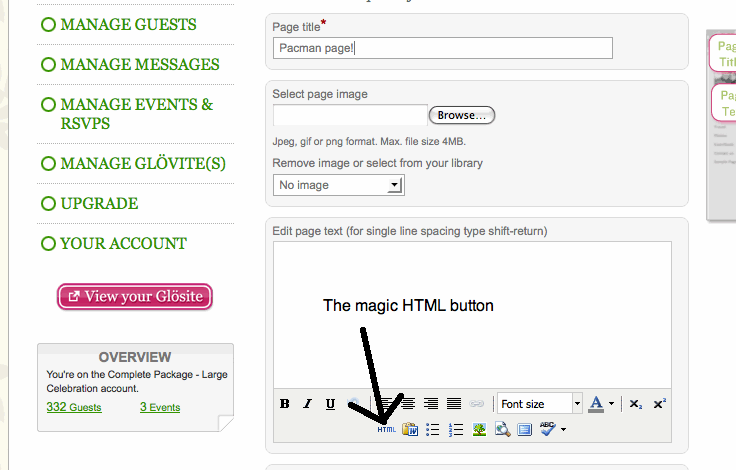
Go to ‘Manage Glövites’ > edit page and scroll down to the text box area. Here you’ll find a button labeled HTML.
Click that bad-boy and another window will pop open.
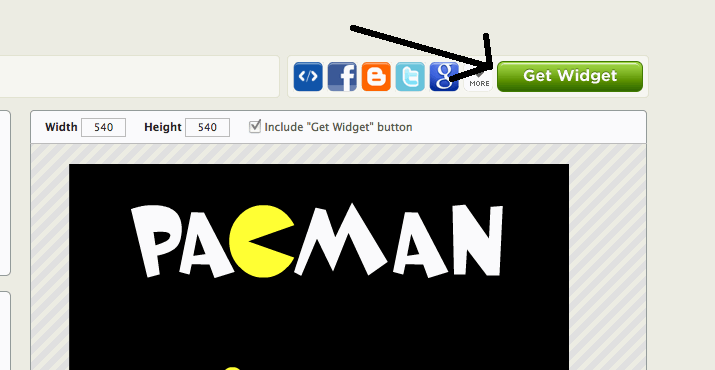
Now, flip over to the browser window with the widget you’re coveting and click ‘get widget’
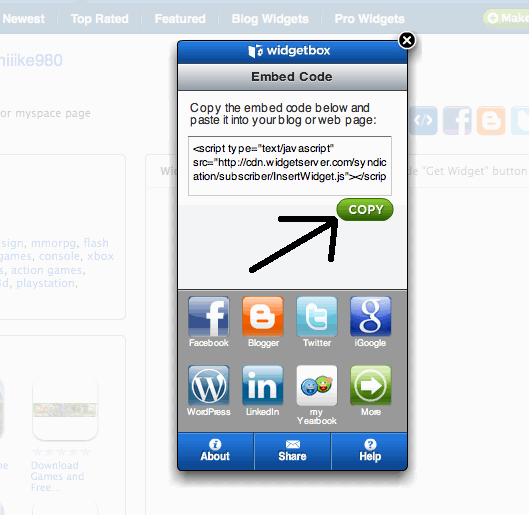
A box will pop up with the code you need to capture, so click ‘copy’
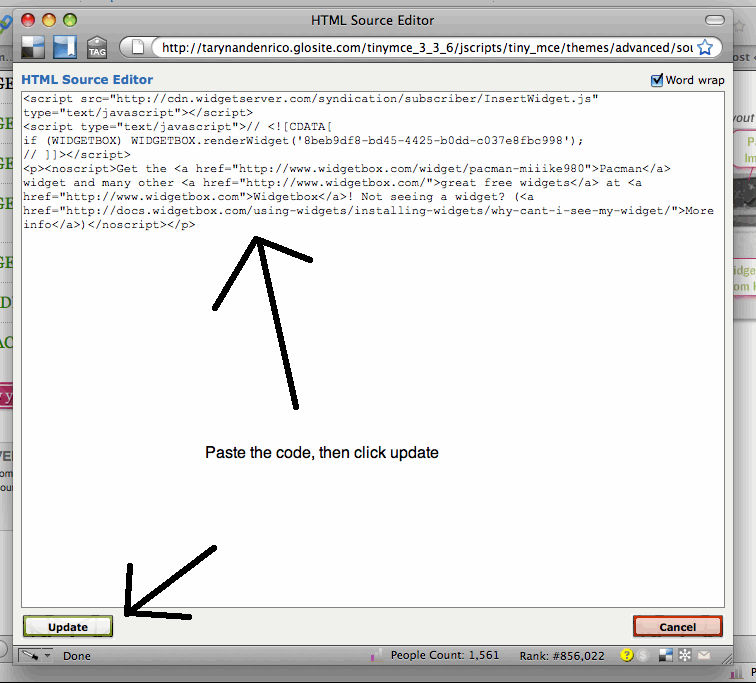
 Now, flip back to the browser window with glosite.com open on it (if the HTML box has gone away, you might need to click the HTML button again.) Put your cursor inside the widget box and paste in the code you just copied, then click ‘update”
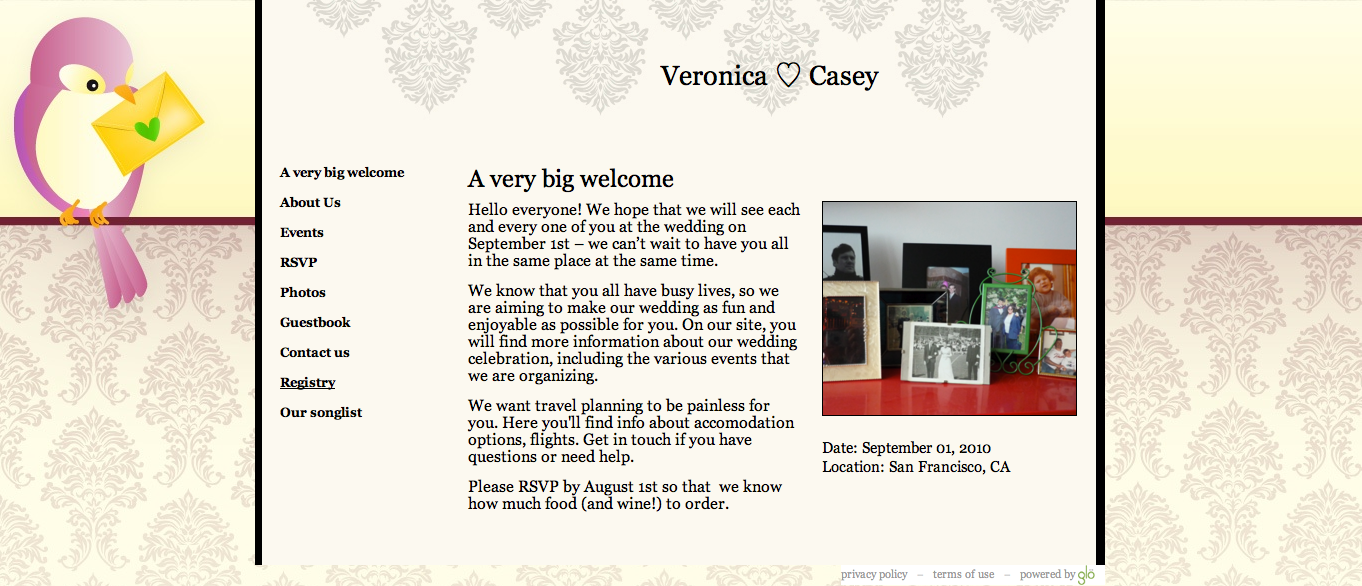
Scroll to the bottom of the Edit Glövite page and click ‘Save” – that’s it!! Now head on over to your Glösite to see the fabulousness you’ve just added! If you’ve followed these directions, you’ll now see this:
I, of course, spent an hour playing before I managed to publish this post!



1 Comment
[…] OR…if you want to add the button in the middle of the text on a page, use the “HTML” feature on text editor menu. Click the “HTML” button, and then position your cursor where you’d like the Paypal button to go and then paste in the code and save. Here’s a tutorial on how to use the HTML feature […]