
Let’s face it – since the average wedding today has tons of out of town guests, you’re probably going to have a good number of guests who have no idea where they are going. Maps are about to become your guests’ best friend – and fortunately for them, you can add lots of maps to your wedding website. Previously, we’ve talked about how to create a fun “things to do and see” map for your wedsite, but today’s post is all about the step-by-step instructions for how to add a driving directions map to your Glösite. (Though these instructions are relevant for any website where you can paste in custom HTML code.)
Here we go:
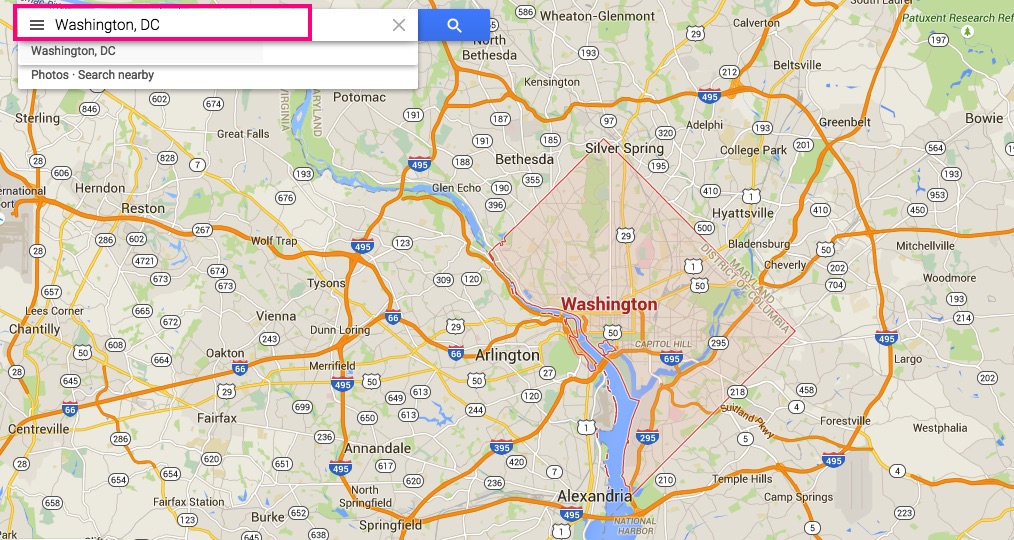
1) Make a Map
Head on over to Google Maps and enter a destination or starting point in the location field
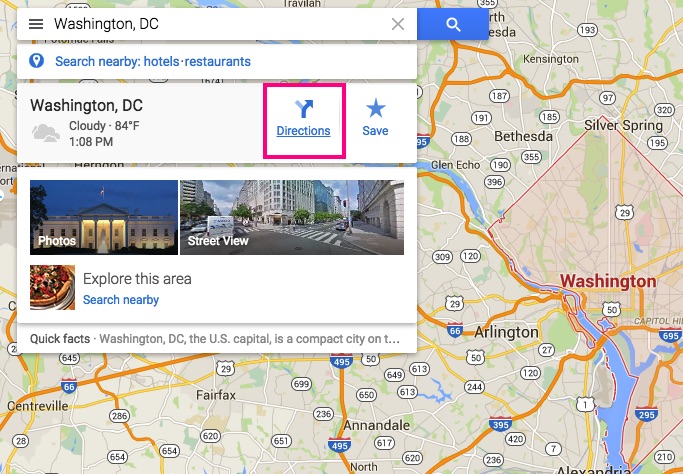
2) Get started with directions
Roll over the section on the left and click on the “directions” link
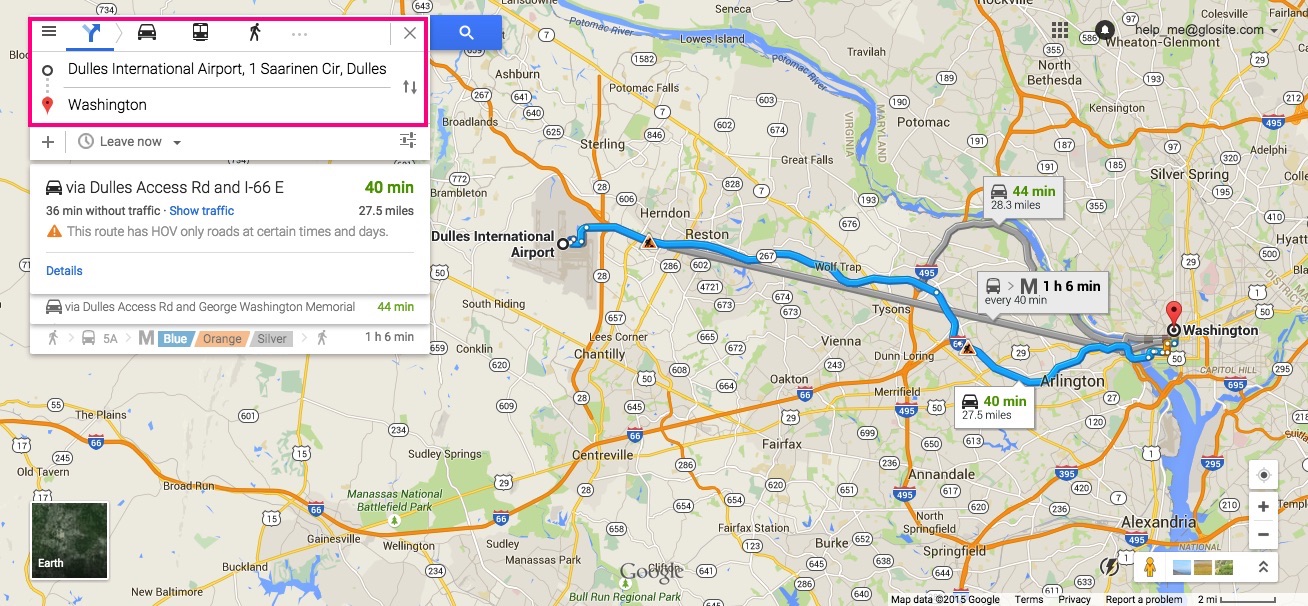
3) Finalize directions
Enter the starting point where guests will be coming from or to (depending on what you chose in step 1) – double check that your “from” and “to” locations are correct on the map. You can choose the mode of transportation: car, public transit, walking, etc. at the top. If the results show multiple ways to get from point A to point B, choose the one you prefer guests to use by clicking on the blue or grey path on the map or the choices listed below the to/from details.
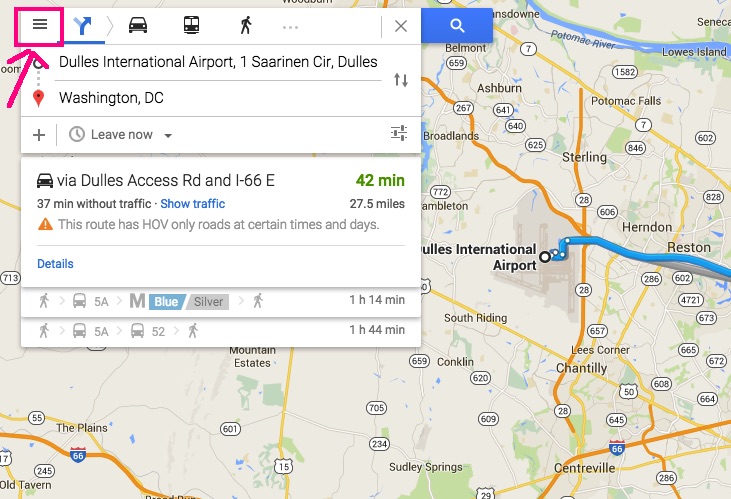
4) Click the Maps Menu
In the top, left of the page, click on the menu icon (the one that looks like a hamburger with several vertical lines.) This opens the menu
5) Create an embedable map
On the menu, click “Share or embed map”

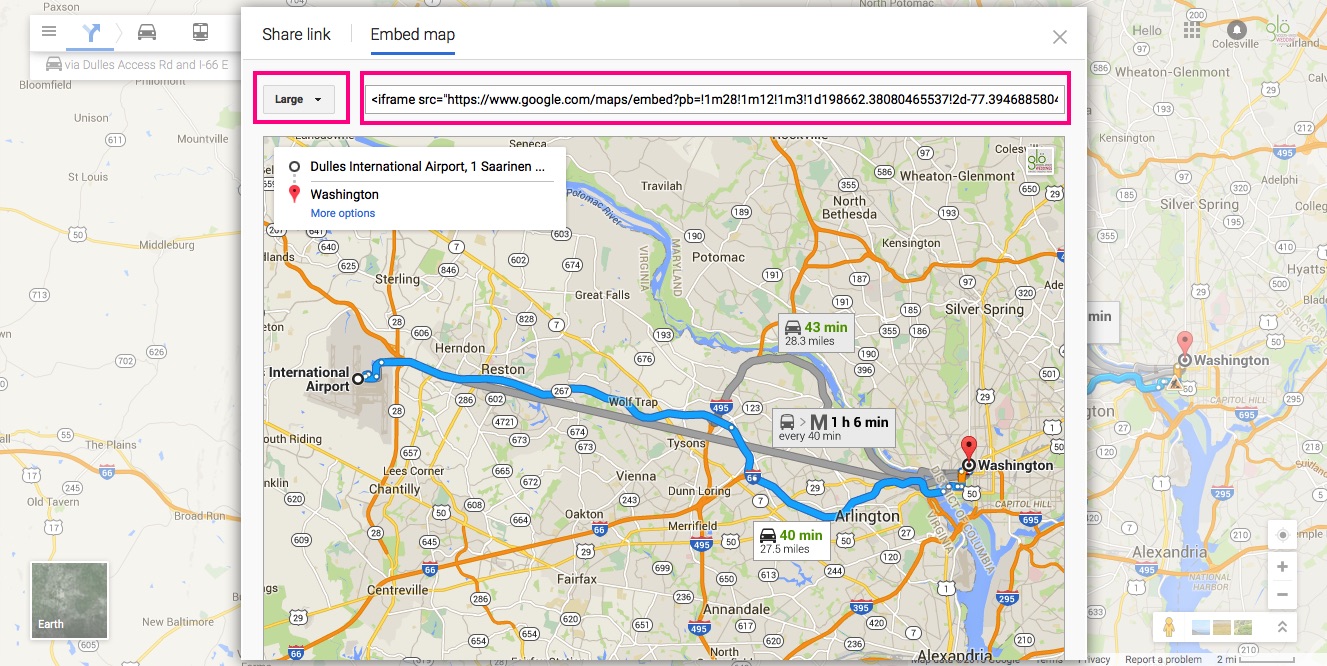
6) Format map and copy code to clipboard
Click on the “Embed map” tab – on this tab you can choose the size of map you’d like to embed. Then highlight and copy (control-X) the embed code to your clipboard
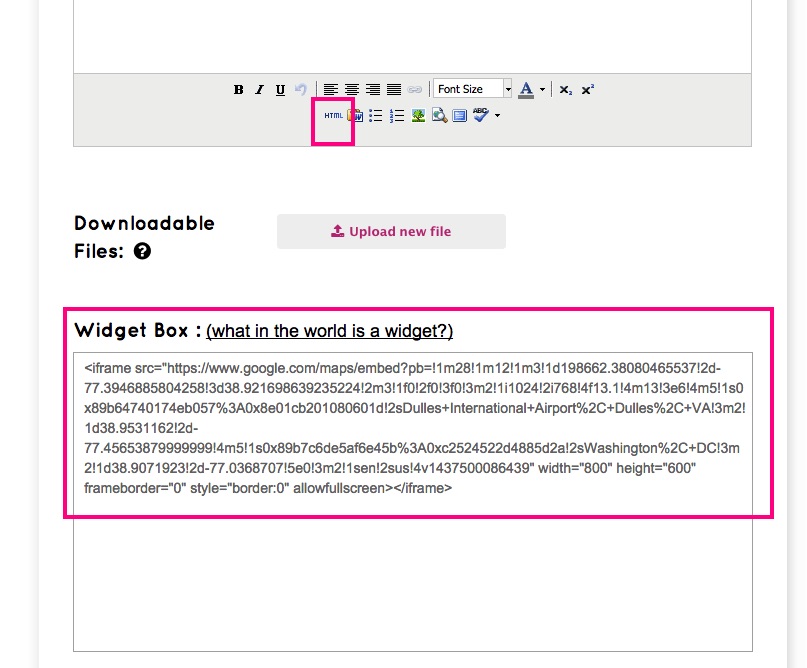
7) Add the map to your Glö Wedding Website (your glosite)
Head on over to your glosite.com account. Navigate to the page where you would like to embed the map. When you are editing the page, you have two options for pasting in the code. The first is pasting it into the Widget Box – this will place the map at the bottom of the page. The second option is to click the HTML button on the text editor – this will allow you to paste the code directly into the text area on the page and the map can appear anywhere (e.g., before or after other text, photos, etc. on the page.)
(Hint: you can also embed the map in an Event description using the HTML button on the event description text editor.)
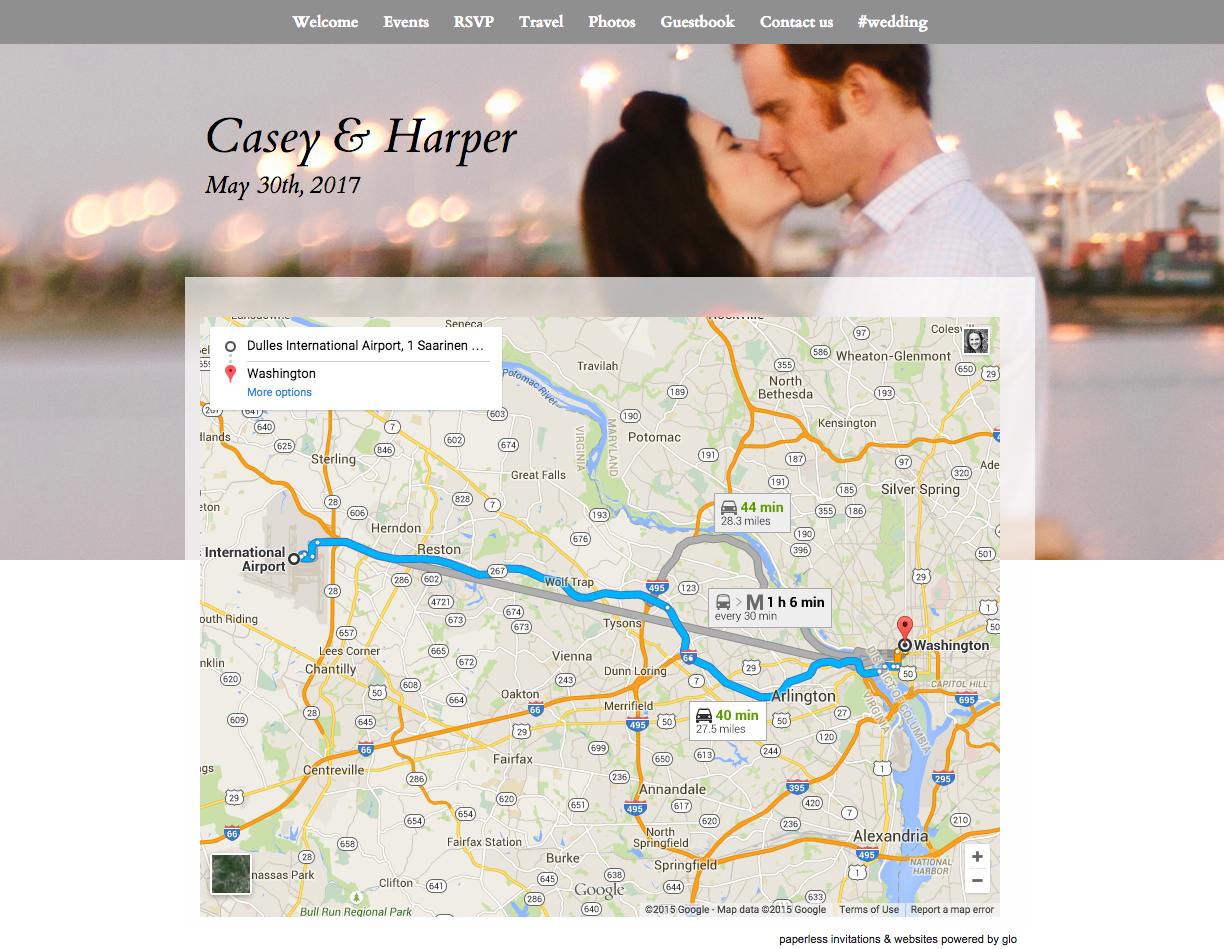
8) Preview your map on your Glö wedding website
View your Glosite wedding website, navigate to the page where you’ve just added the map and there it is!


 7) Save the page and view on your Glosite


 Now, flip back to the browser window with glosite.com open on it (if the HTML box has gone away, you might need to click the HTML button again.) Put your cursor inside the widget box and paste in the code you just copied, then click ‘update”
 The Glö-Bride: Melissa, Educational consultant


